
Lead Tracker is separated into four lead columns in which retail leads can be added, tracked, and moved across columns through your sales pipeline. The four columns that a lead can be added to or moved through are shown below as Saved, Prospects, Engaged, and Archived.

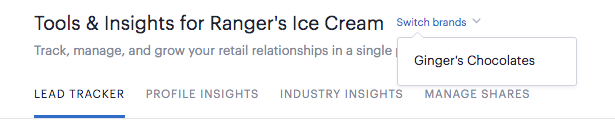
Note: For accounts with more than one brand, the brand you are viewing will be confirmed in the top left-hand corner of the page under “Tools & Insights for -Brand Name-” change the brand you are viewing by selecting “Switch Brands”.
Easily move leads through each lead column as you progress through your pipeline, to do this select the grab icon at the top of the lead you wish to move.
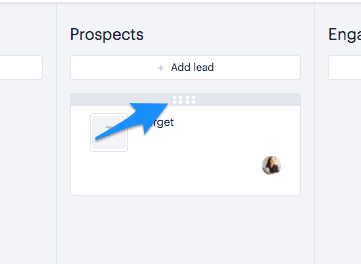
Note: When you move a retail lead into a new column that activity will be tracked within its lead details along with the name of the team member who made the change.
Suppliers with existing or more advanced sales pipelines have the ability to edit their lead columns by clicking the “Edit Lead Columns” button on the right-hand side of your Lead Tracker.
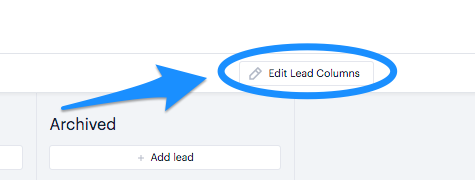
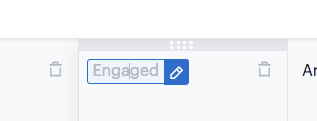
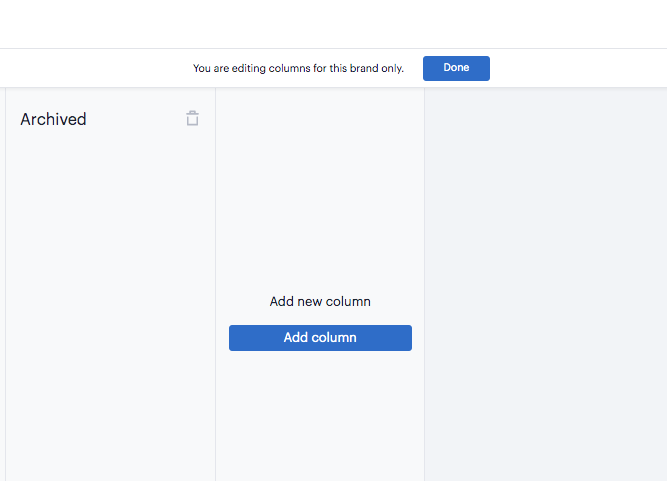
From here you can add new columns, rename or remove a column, and drag and drop columns to change their order. Simply hover over a column title in order to move the column by clicking and holding the top bar or edit the title by selecting the blue edit icon.
Suppliers can also easily add a new column by selecting “Add a Column” to the far right of existing columns as shown below.
Comments
0 comments
Please sign in to leave a comment.